
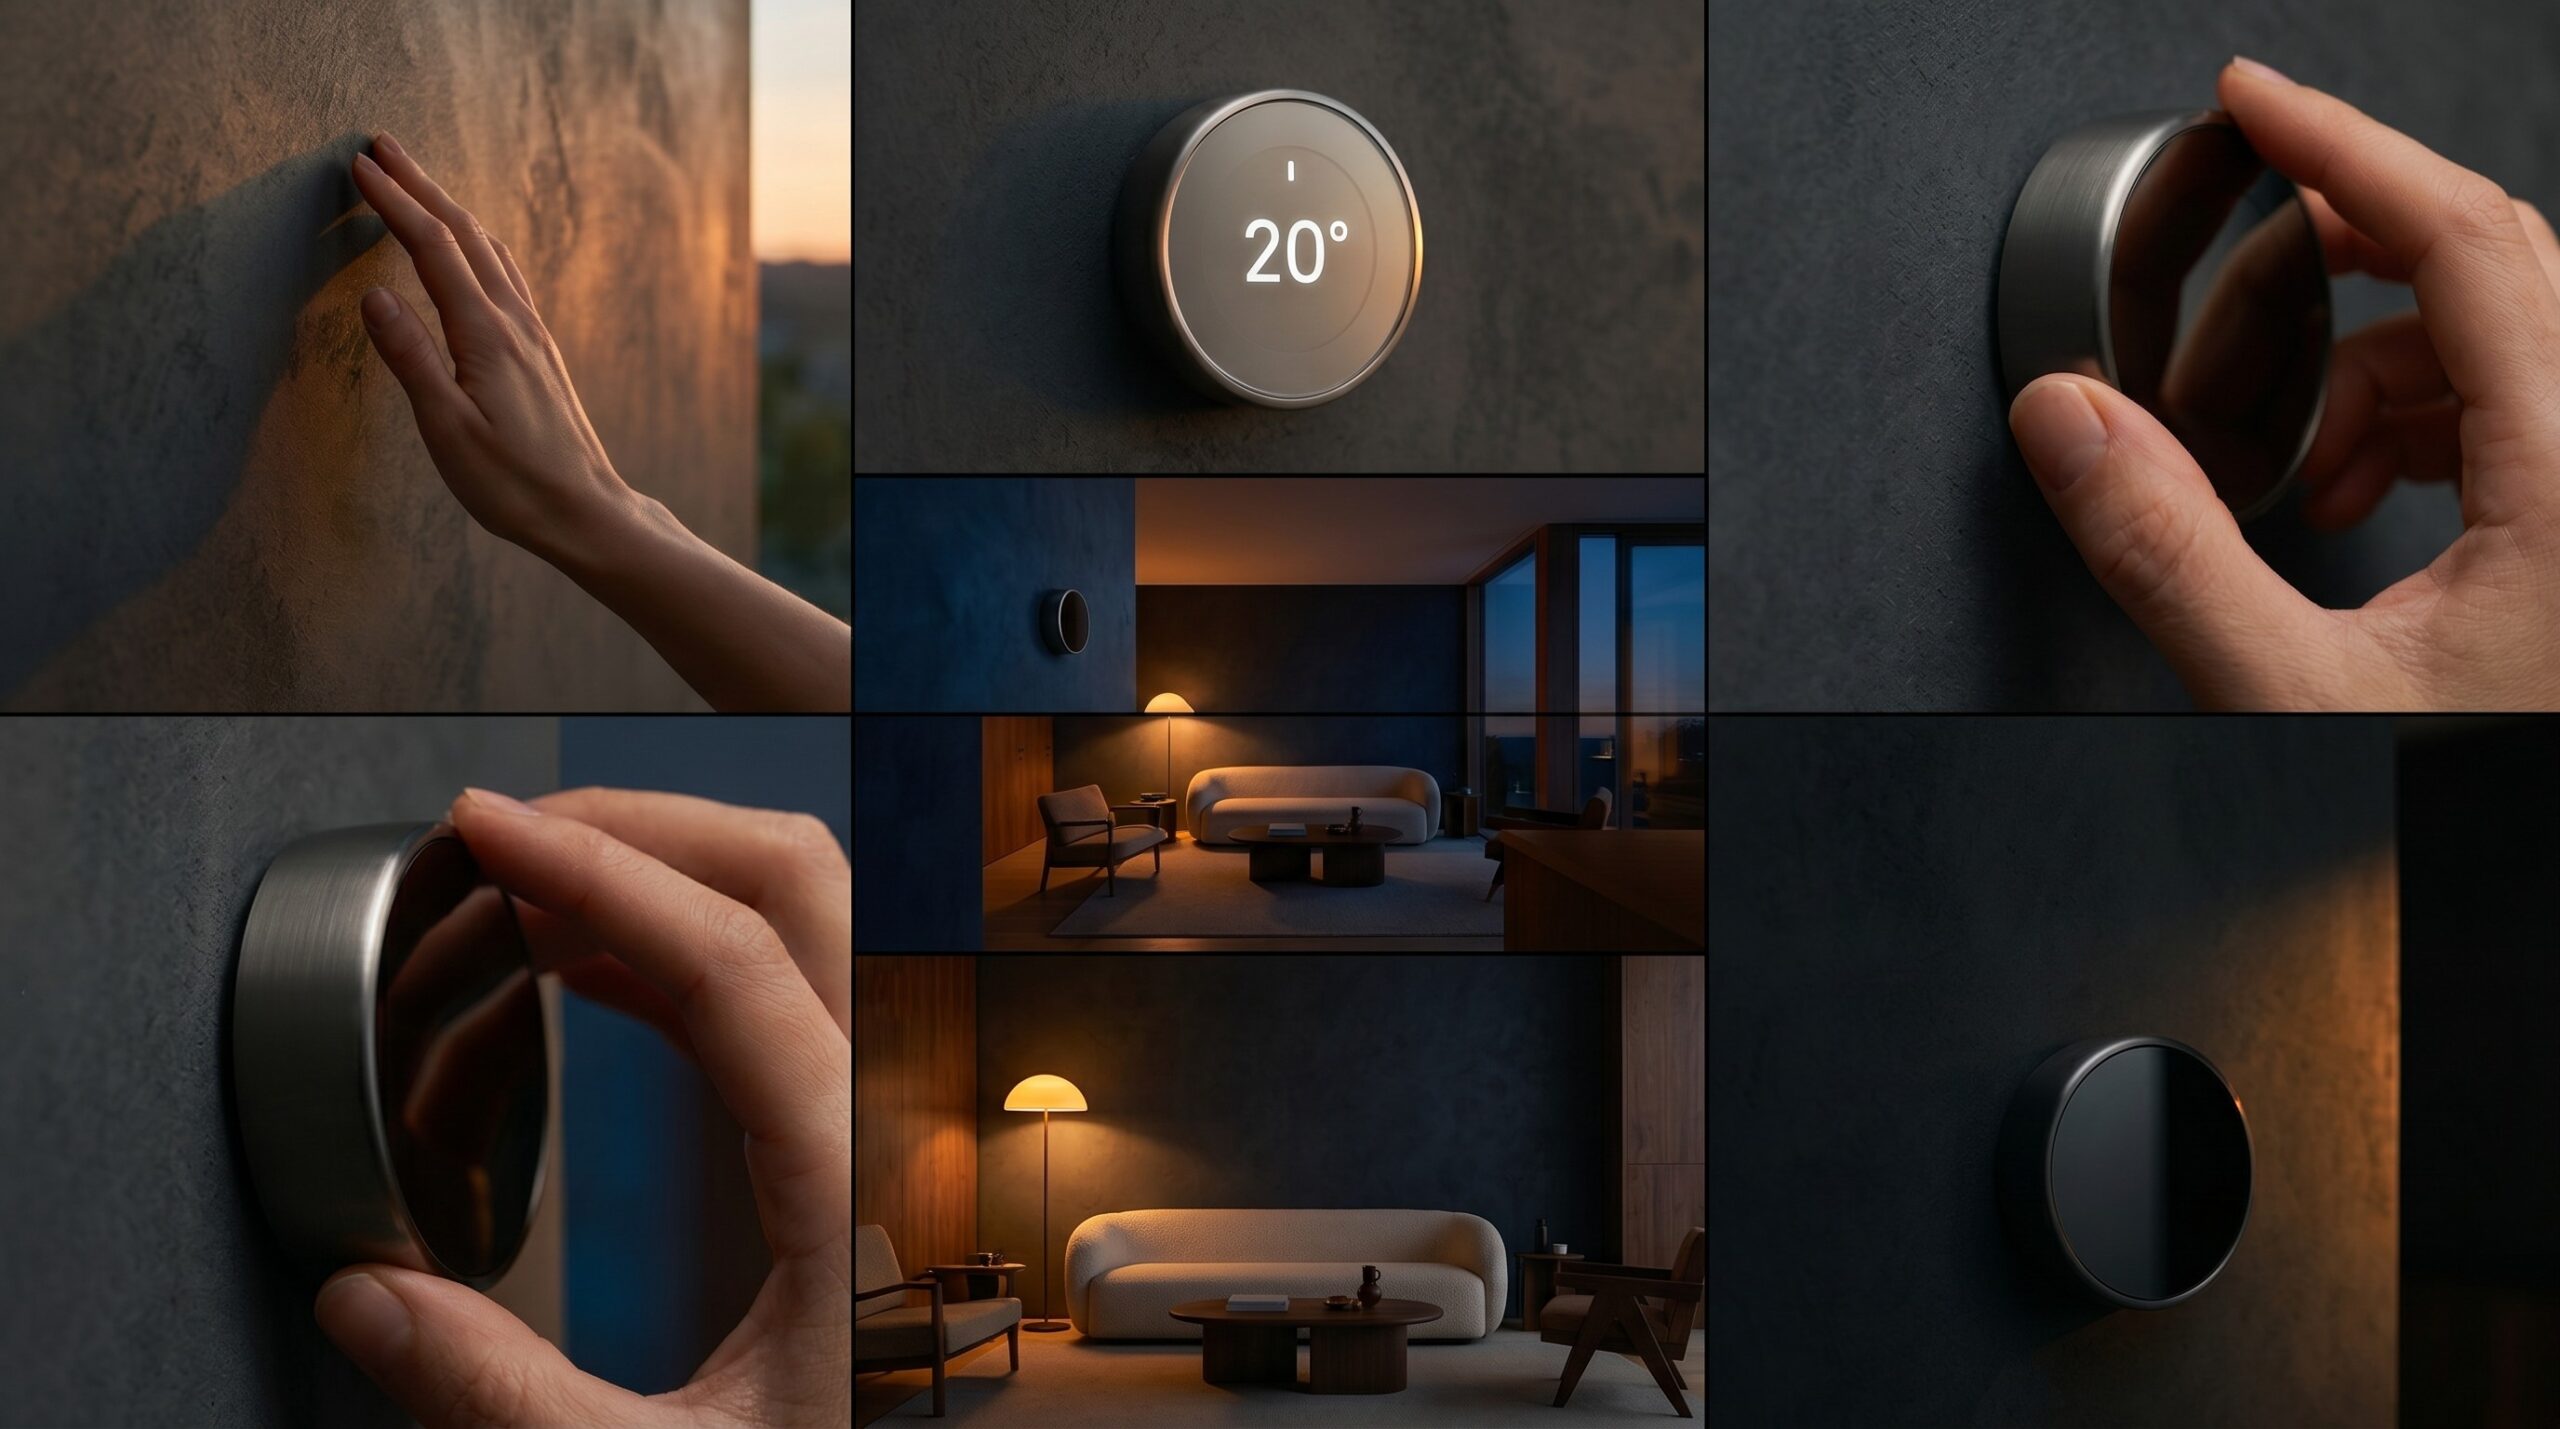

A smart thermostat doesn’t have to look like a gadget bolted onto your wall. Between finish options, mounting choices, and smart scheduling, it’s possible to get all the efficiency benefits without a visible plastic panel breaking up a considered interior. Here’s how to choose and integrate one well — with real, current specs rather than approximated ones.
Choosing for Visual Discretion
Look for models with a low-profile design and a display that stays dark or dim until you approach, rather than a screen that’s lit and visible at all times. Several current models use proximity-based activation for exactly this reason — the exact detection range varies by model and isn’t something to treat as a fixed universal spec.
Mounting and Placement
Flush or recessed mounting looks more intentional than a surface-mounted plastic backplate. If you’re relocating a thermostat to a lower-visibility wall, that’s a real HVAC consideration (not just aesthetic) — loop in whoever installs your system to confirm sensor placement won’t affect how accurately it reads room temperature.
Real Current Options (verified specs)
Google Nest Learning Thermostat (4th Gen) — around $279. Comes in three finishes: Obsidian (black), Polished Silver, and Polished Gold. Features a circular design with a “Farsight” display that lights up with time, weather, or temperature as you approach. Strong pick if you’re deep in the Google Home ecosystem.
Ecobee Smart Thermostat Premium — around $249. A more understated single-finish metal body with a color touchscreen, and it’s the one of these two with a built-in air quality monitor (VOC, CO2, humidity) alongside temperature control. Includes one SmartSensor in the box for balancing temperature between rooms, and works with Apple HomeKit locally without needing constant cloud connection.
Google Nest Thermostat (budget line) — around $129. This is Google’s simpler, non-“Learning” model — worth knowing the two aren’t the same product, since only the Learning Thermostat has the auto-scheduling and finish options described above. A reasonable pick if the smart-scheduling features matter less than just getting a clean, minimal thermostat on the wall.
Pairing any of these with a remote temperature sensor (sold separately) helps even out temperature readings between the room the thermostat is mounted in and the room you actually spend the most time in.
Scheduling Around Your Actual Sleep Cycle
This part has real science behind it, even if the exact numbers vary by person: your core body temperature naturally begins dropping roughly two hours before your typical bedtime, driven by your circadian rhythm — and that drop is one of the mechanisms that helps trigger sleep onset, not just a side effect of it. Research generally supports a bedroom temperature in the 60–68°F range for most adults. Scheduling a modest temperature drop in the couple of hours before your usual bedtime works with this natural process; there isn’t a single universally “correct” number of degrees or exact minute-by-minute timing, so treat any specific figure as a starting point to adjust based on how you actually sleep.
A similar logic applies in the morning: a gradual warm-up timed to your usual wake time supports a more comfortable transition out of sleep, though how directly this interacts with cortisol or other wake-related hormones is more complex than a thermostat schedule alone can account for.
Bottom Line
The visual-discretion approach is entirely about choice — mounting, finish, and display behavior — and those are real, controllable specs. The sleep-scheduling benefit is grounded in real circadian research, but the exact numbers are a personal-tuning exercise, not a fixed formula. Start with the general ranges above and adjust based on your own sleep.
Sources: manufacturer and independent 2026 product specifications for Nest Learning Thermostat (4th Gen) and Ecobee Smart Thermostat Premium; general circadian/thermoregulation sleep research on pre-sleep core body temperature decline.
